

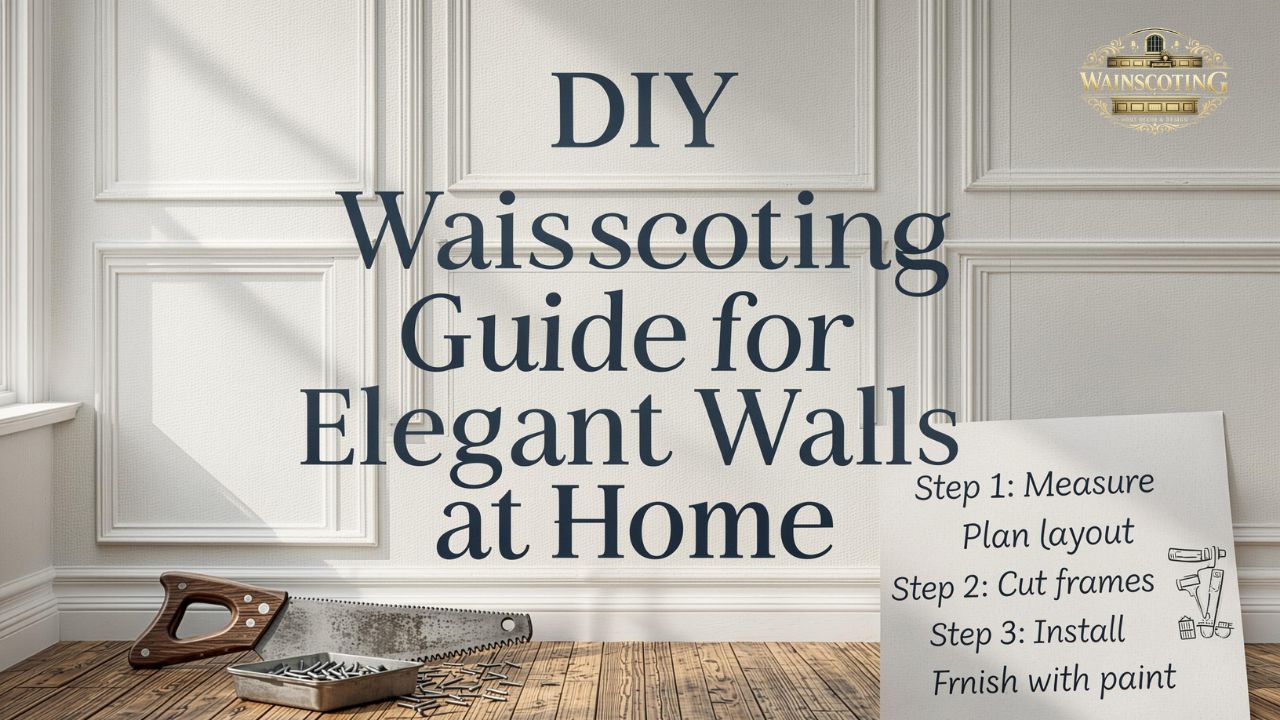
Introduction
A plain wall can change the entire feeling of a room—sometimes all it needs is structure, depth, and a little craftsmanship. diy wainscoting has become one of the most popular ways to create that transformation without rebuilding the room or spending heavily on custom carpentry.
What makes this wall treatment so appealing is how quickly it changes visual balance. A blank hallway starts to feel intentional. A bedroom wall gains elegance. A dining room suddenly looks designed rather than simply painted.
Many homeowners assume decorative wall molding requires advanced woodworking skills, but modern trim materials and accurate layout methods have made it far more approachable. With careful measurements and patience, even a beginner can achieve a clean architectural finish.
The real advantage is flexibility: you can build traditional panels, modern square layouts, full-height decorative grids, or half-wall classic designs depending on the room style and ceiling height.


What Is DIY Wainscoting and Why It Changes a Room So Effectively
Wainscoting is decorative trim or paneling applied to a wall to create framed sections. Historically, it protected lower walls from wear, especially in dining rooms and hallways. Today, it mainly serves as a design feature.
The reason it works so well visually is because it introduces proportion. Walls often look unfinished when they have no horizontal or vertical structure. Trim lines create rhythm and guide the eye naturally across the room.
In modern interiors, trim layouts are often simplified into clean rectangles. In traditional homes, deeper profiles and chair rails create more formal character.
Common Styles Used in Homes Today
Several styles are widely used depending on design preference:
- Raised panel style
- Flat panel style
- Board and batten
- Picture frame molding
- Full-height geometric panel grids
- Lower-wall classic trim with chair rail
Each style changes how formal or modern the room feels.
Best Rooms for Decorative Wall Trim
Some rooms benefit more because walls remain visually open:
- Dining rooms
- Bedrooms behind headboards
- Hallways
- Staircases
- Entry walls
- Living room feature walls
- Home offices
Smaller rooms often benefit from simple panel spacing rather than dense detailing.
Planning DIY Wainscoting Before Buying Materials
The biggest mistake beginners make is buying trim before designing panel spacing.
Start by measuring:
- Full wall width
- Full wall height
- Existing baseboard thickness
- Ceiling trim depth
- Electrical outlet positions
Then sketch the wall before cutting anything.
Why Panel Symmetry Matters More Than Exact Dimensions
Panels should look balanced from left to right. This means panel width often matters more than following one fixed number.
For example, if a wall is 12 feet wide, equal spacing creates a cleaner finish than forcing panels to arbitrary widths.
A common layout method:
- Keep outer margins equal
- Use equal spacing between panels
- Adjust center panels slightly if needed
Choosing Trim Profiles Carefully
Trim profile changes final character dramatically.
Thin flat trim gives modern results.
Rounded molding creates softer classic detail.
Decorative stepped trim feels more traditional.
Avoid mixing too many trim shapes on one wall.


6
Tools and Materials Needed for DIY Wainscoting Installation
You do not need a full workshop, but precision tools help greatly.
Essential Tools
- Measuring tape
- Laser level or spirit level
- Pencil
- Miter saw
- Nail gun or finishing nails
- Caulk gun
- Sanding block
- Paint brush and roller
Essential Materials
- MDF trim strips
- Construction adhesive
- Wood filler
- Paintable caulk
- Primer
- Semi-gloss or satin paint
MDF is popular because it cuts cleanly and remains affordable.
Should You Use MDF or Solid Wood?
MDF works best indoors where moisture is controlled.
Solid wood is better in humid environments but costs more.
Bathrooms need moisture-resistant material if trim extends near wet areas.
Step-by-Step Wall Layout Process
Accurate layout decides whether the final wall looks professional.
Begin by marking top and bottom visual boundaries.
A common lower-wall height is between 32 and 42 inches, but full-wall designs can go much higher.
Marking Horizontal Guides
Use a level to mark:
- Base alignment
- Chair rail line if used
- Top frame line
Never trust floor level completely because floors often slope slightly.
Marking Vertical Panel Positions
After total wall width is known:
- Subtract trim thickness
- Divide remaining space equally
- Mark centerlines first
- Expand outward evenly
This prevents ending with narrow awkward side panels.
Cutting Trim Without Visible Gaps
Cuts matter more than many beginners expect.
Even one slightly angled cut becomes visible after paint.
Miter Saw Tips for Cleaner Edges
- Cut slowly
- Support long trim pieces
- Test corners before fixing permanently
- Label each piece after cutting
Handling Imperfect Walls
Walls are rarely perfectly straight.
When walls bow slightly:
- Use adhesive generously
- Pin trim in center first
- Press edges slowly
- Fill tiny gaps later with caulk
This creates smoother final lines.


5
Installing DIY Wainscoting Cleanly on Painted Wall
Existing painted walls are completely workable.
First clean the surface properly.
Dust, grease, and loose paint weaken adhesive grip.
Best Adhesive Method
Apply construction adhesive in thin lines behind each trim piece.
Then fix with finishing nails.
Adhesive prevents future separation, while nails hold alignment immediately.
Order of Installation
Always follow this sequence:
- Horizontal trim first
- Outer vertical sections
- Internal panel dividers
- Decorative upper trim last
This prevents layout drift.
Filling, Sanding, and Preparing for Paint
This stage determines whether trim looks built-in or simply attached.
Filling Nail Holes Properly
Use wood filler lightly.
Too much filler creates uneven sanding spots.
After drying:
- Sand smooth
- Check under side light
- Refill if necessary
Why Caulking Changes the Final Look
Caulk hides tiny wall gaps.
Without caulk, trim edges remain visibly separate.
Apply thin lines only:
- Along trim edges
- At corner joints
- Near ceiling meeting points
Smooth immediately with finger or finishing tool.
Paint Choices That Make Panels Look Premium
Paint finish changes how expensive the wall appears.
Semi-gloss highlights molding edges beautifully.
Matte walls with semi-gloss trim create contrast.
Best Color Approaches
Popular combinations include:
- Same wall and trim color for subtle elegance
- Dark lower panels with light upper wall
- Warm neutral full-wall treatment
- Soft greige modern paneling
Should Trim and Wall Match?
Matching colors often make panels feel architectural rather than decorative.
Contrasting colors make each frame stand out more clearly.
Budget-Friendly DIY Wainscoting Ideas for Large Walls
Large walls can become expensive if over-detailed.
The easiest cost-saving strategy is wider panel spacing.
Ways to Reduce Material Cost
- Use thinner MDF strips
- Reduce number of internal frames
- Skip heavy top molding
- Paint existing baseboards instead of replacing them
Feature Wall Instead of Full Room
A single wall often delivers stronger visual impact than treating every wall.
Ideal locations:
- Behind bed
- Sofa wall
- Dining wall
- Entry focal wall
Common Mistakes That Make Trim Look Amateur
Even expensive materials can look poor if proportion fails.
Mistake: Panels Too Small
Tiny panels create clutter.
Larger panels usually look more refined.
Mistake: Ignoring Outlet Placement
Always design around switches and outlets early.
Mistake: Uneven Top Spacing
Top margins should remain visually consistent.
Mistake: Rushing Paint Before Final Inspection
Always inspect joints before primer.
Modern Design Variations You Can Try
Many homeowners now move beyond classic lower-wall trim.
Full Height Grid Walls
These use large repeated rectangles from floor to ceiling.
Very effective in bedrooms and living rooms.
Thin Minimal Linear Designs
Flat narrow trim gives a luxury modern appearance.
Accent Color Panels
Dark charcoal, olive, navy, and muted beige work especially well.
FAQ
How long does diy wainscoting usually take for one wall?
One standard wall often takes one day for cutting and installation, plus another day for filling, sanding, and painting.
Is diy wainscoting suitable for renters?
Only if removable trim systems or adhesive-only lightweight designs are used, because nailed trim usually affects walls permanently.
Can I install trim without a nail gun?
Yes, but manual finishing nails take longer and require careful countersinking.
What trim thickness works best for modern walls?
Thin flat trim between 9 mm and 12 mm usually creates the cleanest modern appearance.
Should panels touch ceiling trim?
Not always. Leaving upper breathing space often looks more balanced.
Can I add wainscoting over textured walls?
Light texture can work, but heavy texture should be sanded first.
Which paint finish is easiest to clean?
Semi-gloss is easiest for wiping marks and dust.
Does wall molding increase home appeal?
Well-designed trim usually improves visual value and often makes interiors feel more finished to buyers.
Conclusion
A well-executed wall treatment does more than decorate—it changes how a room is perceived the moment someone enters. diy wainscoting works because it introduces proportion, structure, and craftsmanship in a way paint alone cannot achieve.
The strongest results usually come from patience rather than speed: accurate measuring, balanced panel spacing, careful caulking, and restrained paint choices.
Even simple trim layouts can create a custom-built appearance when every line feels intentional. That is why this project continues to remain one of the most effective upgrades for anyone who wants a home to feel designed rather than merely finished ✨🏠🔨